
Custom Round Cherry Dining Table Build and Process
Its not all the time that we get work with a clients existing furniture. Often times people think that starting over is the better route to go with. Throw away and start over! Sometimes the answer is to start with the pieces of furniture you already have. For this job we built a round cherry dining table to fit over an existing table base. Replacing the existing table top gave the base another life and worked with the clients needs in a great way.
Keeping what you’ve already bought and using it to get another life is really a rewarding way to go.
And that’s exactly what we did with this job. The table was a beefy metal/rod iron build. Done mostly well, we knew that a new top would fit the base well and serve many more years of use. This round cherry dining table was going to make great use of an existing base and serve another life.
The existing kitchen had all cherry cabinets. They had aged well over the last 25 years so we had to make sure we matched not just the customers taste and existing base, we also had to match the years of sun and aging on the kitchen cabinets. The existing cherry dining table also was a very cheap veneer with basically a cardboard layer. It weighed next to nothing. The fake cherry veneer had began to delaminate with hot plates and spills. Tables like this aren’t really meant for normal use. They sit in a spare dining room trying to look pretty but really doing nothing more than taking up space.
Cherry is a wonderful wood choice. It has great durability qualities and is so warm in any interior space. Cherry ages well in any home and with any use. We knew we needed to match the existing cabinets that were already in the space. But one of our dilemmas was matching the darker hues the cabinets already had with the round cherry dining table. This meant a custom stain option to get close.
Round Cherry Dining Table Build
- 48″ Number 1 Cherry Wood
- Custom color stain
- Conversion Varnish film finish with UV blockers
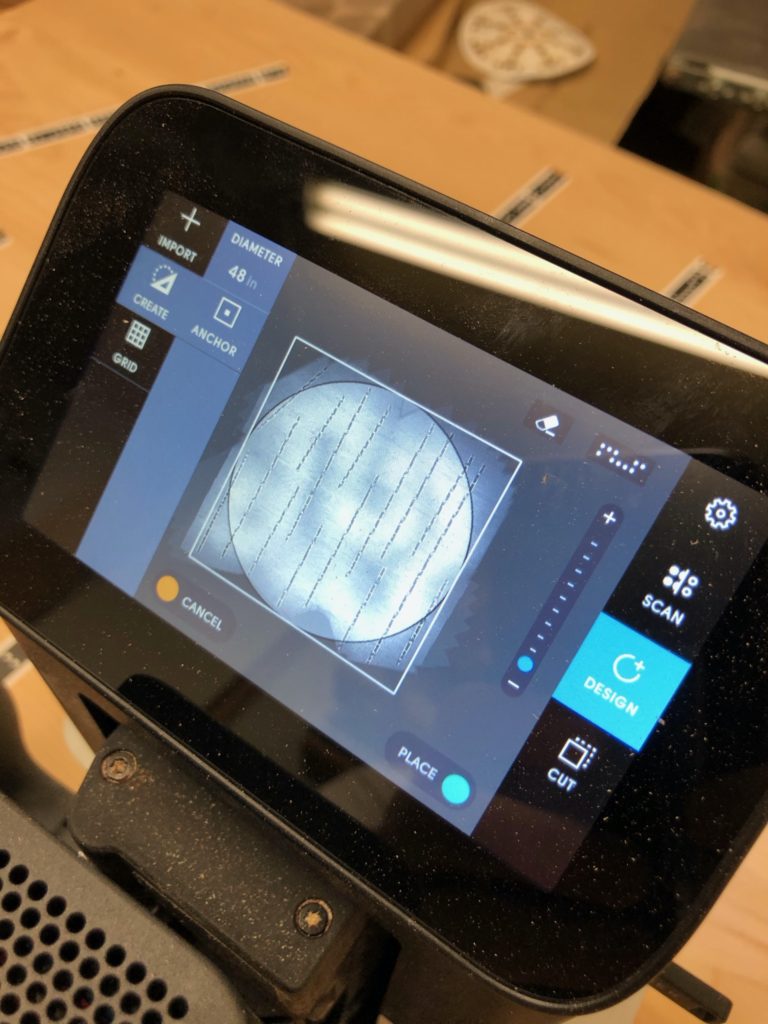
Round begins its life as a square. We glue up the boards in a favorable manner. There are many effective ways to process a round dining table top. In this case, we used our handheld CNC machine to layout the 48 round top and used the router machine to cut what we needed. This is a great process because we can easily get the most favorable part out of the square top.
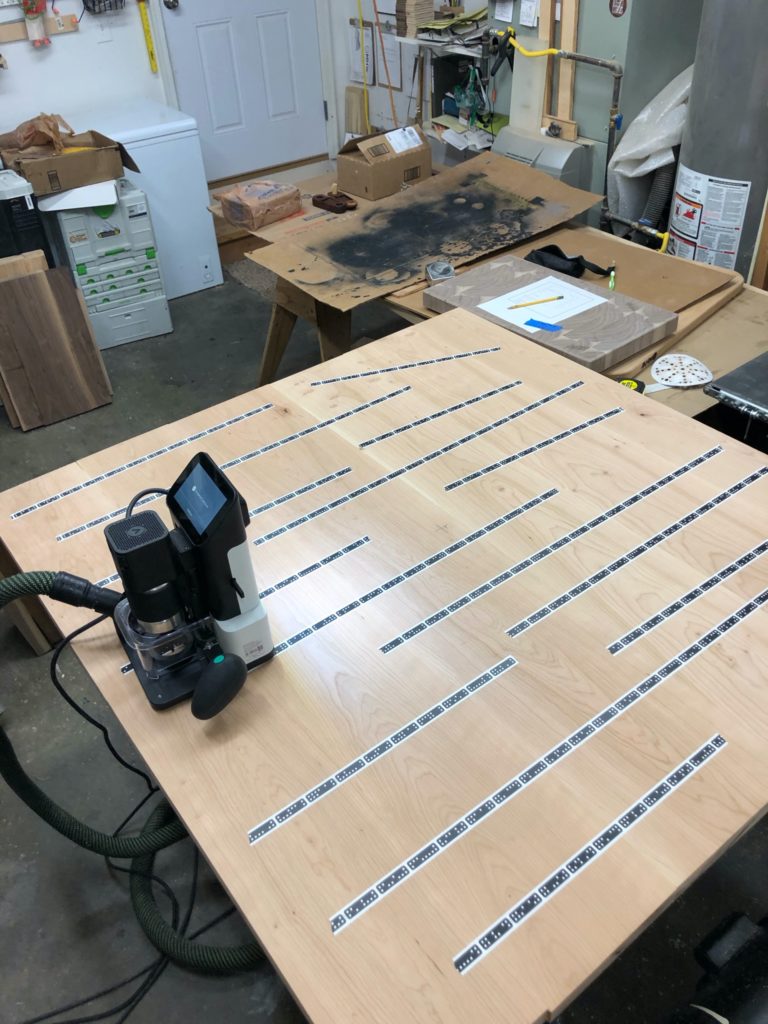
Shaper tool on round cherry dining table top
Here you can see where we easily laid out the 48″ round top. The design for something simple like this is done all on the tool. From design to cut in under 10 minutes! We then sanded the round cherry dining table top to 150 grit. The lower grit allows a stain to penetrate deeper into the wood. This creates a richer and more deep color.
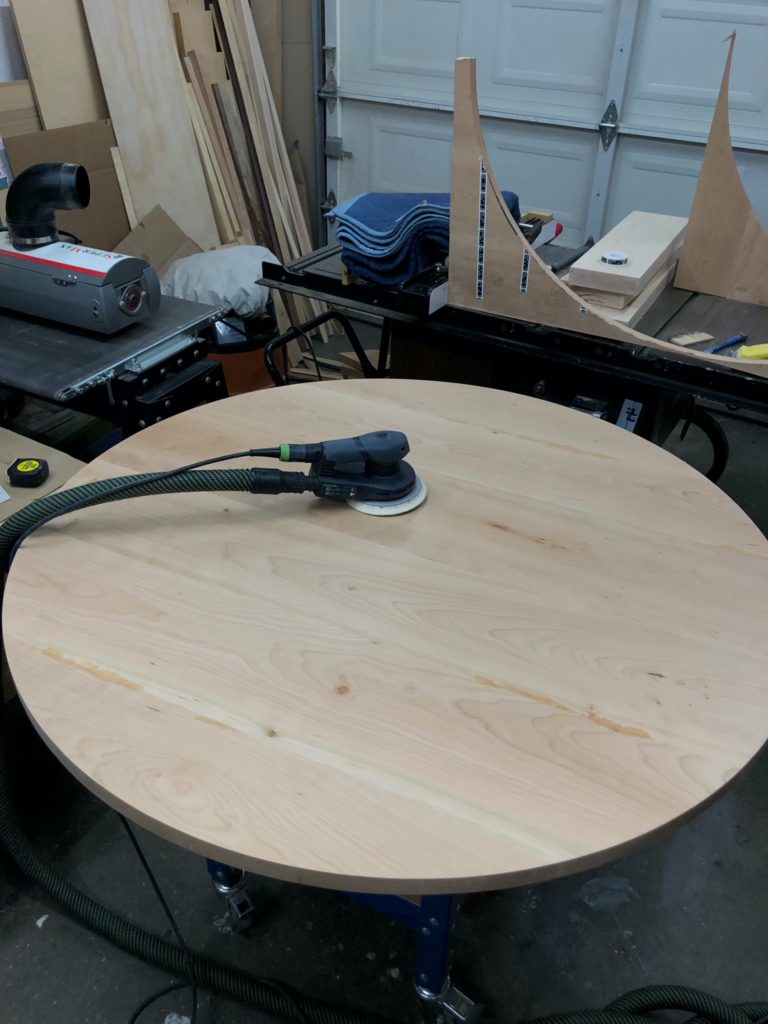
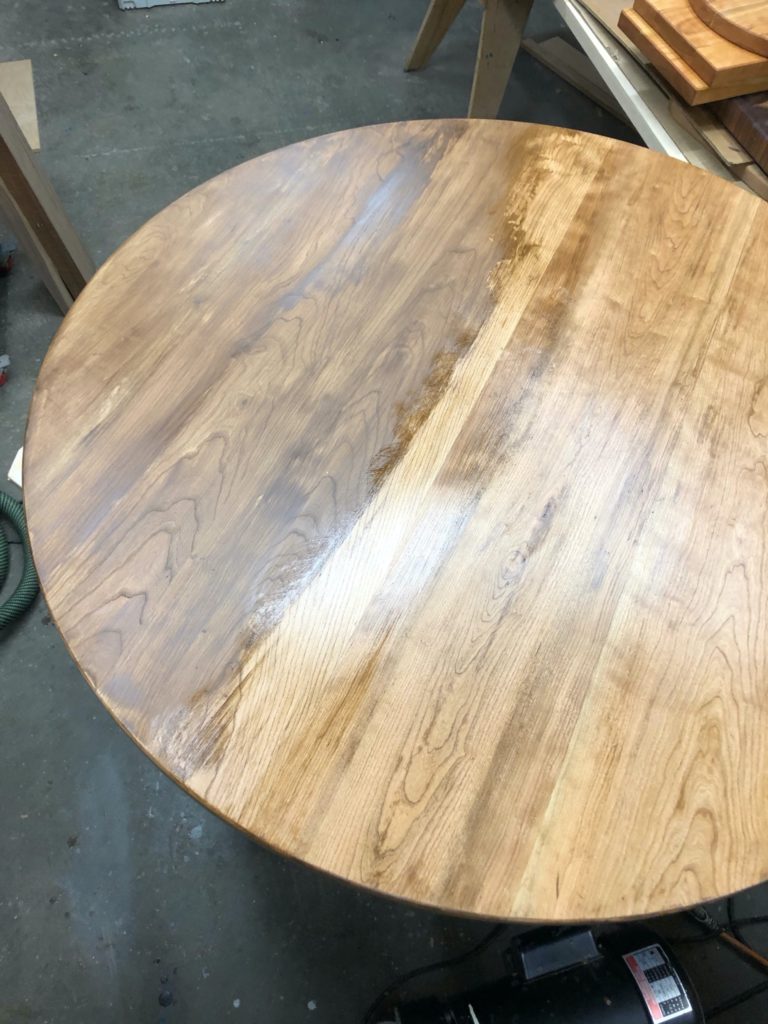
round cherry dining table before finish
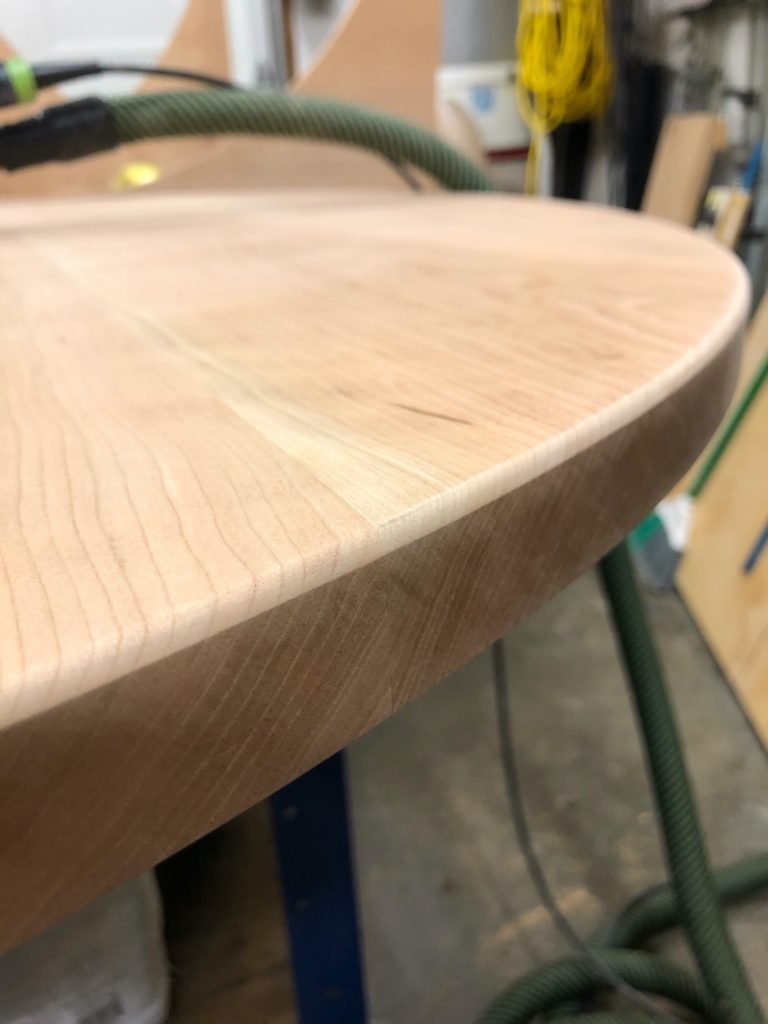
edge profile cherry dining table
We did a very simple rounder along the top edge and a small chamfer along the bottom edge. This 2 step process provides a great classic feel to a round table top.
We did a 3 part rubbed stain to darken the color of the cherry dining table. Once we had the right color, we then added in a build finish to get the protection we really needed. Protecting cherry wood is not only against stains or wine and water, but sunlight. In this case we had sun light pouring in about 6 hours out of the day onto the table. We added a UV blocker to the build finish to avoid the sunlight changing or altering the color.
Cherry is such a great wood to work and it takes some finesse and experience to get it just right.
This round cherry dining table top was a great build for us. A quick and easy one. But rewarding from the aspect that it will provide a whole second life to something that was nearly ready to be thrown away.
Would we have made more money building the whole table? Of course. But often times the road less traveled is the most rewarding path. If you have an existing piece you would like to see if we can work with- drop us a line and see what we can build.


